Add File Uploads
In ROQ, the upload is realized using signed URLs, which means the files are uploaded directly from the user's browser to the object storage without sending it through your backend.
ROQ SDK also provides a FileUpload component to make the file upload easy to code. Let's take an example of how to upload an image file using ROQ BaaS.
Using the FileUpload component
To use the FileUpload component, we need to install the @roq/ui-react package:
npm install @roq/ui-react --saveAnd then we need to instantiate the file upload component from the @roq/ui-react package:
<FileUpload className='my-10' fileUploader={fileUploader} accept={['image/*']}
    fileCategory={category} showActiveUploads={false}>
    <button className="bg-blue-500 hover:bg-blue-700 text-white font-bold py-2 px-4 rounded">
    Upload file
    </button>
</FileUpload>
When using the FileUpload component, there are three properties to keep in mind:
accept: This property specifies the type of file that can be uploaded and will be shown in the file dialog.fileCategory: This property is used to indicate the category of the uploaded file. We can get the category programmatically or directly look into the ROQ Console.fileUploader: This property represents the ROQ file uploader.
Add file event handlers
The useRoqFileUploader() is a hook to upload files. We can use this method to add handlers for file upload events.
const fileUploader = useRoqFileUploader({
    onUploadSuccess: (file) => {
          console.log(file)
    },
    onUploadFail: (err) => {
        console.error(err);
    },
    onChange: ([file]) => {
        setSelectedImage(file);
        handleUpload(file);
    },
    fileCategory: category
});
Uploading files
The method handleUpload() is responsible for handling the selection of a file by the user via the onChange() file event.
const handleUpload = useCallback(async () => {
    if (selectedImage) {
        const file = await fileUploader.uploadFile({
            file: selectedImage as File,
            temporaryId: Date.now().toString(),
        });
    }
}, [fileUploader, selectedImage]);
The uploadFile() method of the useRoqFileUploader() hook is the actual code responsible for uploading files to the ROQ storage platform.
Image uploader
We can build an image uploader component in the Next.js application from our previous steps.
Here's the full code for our image uploader:
"use client"

import { useState, useCallback } from 'react'
import { FileUpload, useRoqFileUploader } from '@roq/ui-react'
import { roqBrowserClient } from "@/lib/roq/roq-client"
import { useSession } from '@/lib/roq'

export default function ImageUpload() {
    return <UploadImage />
}

const UploadImage = () => {
    const { session, status } = useSession()
    const [selectedImage, setSelectedImage] = useState<File | null>(null)
    const category = 'USER_FILES'

    const fileUploader = useRoqFileUploader({
        onUploadSuccess: (file) => {
          console.log(file)
        },
        onUploadFail: (err) => {
          console.error(err)
        },
        onChange: ([file]) => {
            setSelectedImage(file)
            handleUpload()
        },
        fileCategory: category
      });

      const handleUpload = useCallback(async () => {
        if (selectedImage) {
          const file = await fileUploader.uploadFile({
            file: selectedImage as File,
            temporaryId: Date.now().toString(),
          });

          console.log(file)
        }
      }, [fileUploader, selectedImage]);

    function logoutHandler() {
        roqBrowserClient.signOut()
    }

    return (
        <div className='m-5'>
            {session ? (<>
                <h1>Upload File</h1>
                <p className='my-10'>Logged in as: <strong>{session?.user.email}</strong></p>
                <br />
                <button
                    onClick={logoutHandler}
                    className="bg-blue-500 hover:bg-blue-700 text-white font-bold py-2 px-4 rounded"
                >
                    Logout
                </button>

               <br/>

            <FileUpload className='my-10'
              fileUploader={fileUploader}
              accept={['image/*']}
              fileCategory={category}
              showActiveUploads={false}
            >
              <button className="bg-blue-500 hover:bg-blue-700 text-white font-bold py-2 px-4 rounded"
              >
                Upload file
              </button>
            </FileUpload>
            </>) : 'Not logged in'}
        </div>
    )
}
In the ROQ Console, we can check the uploaded files in the Manage Data section.
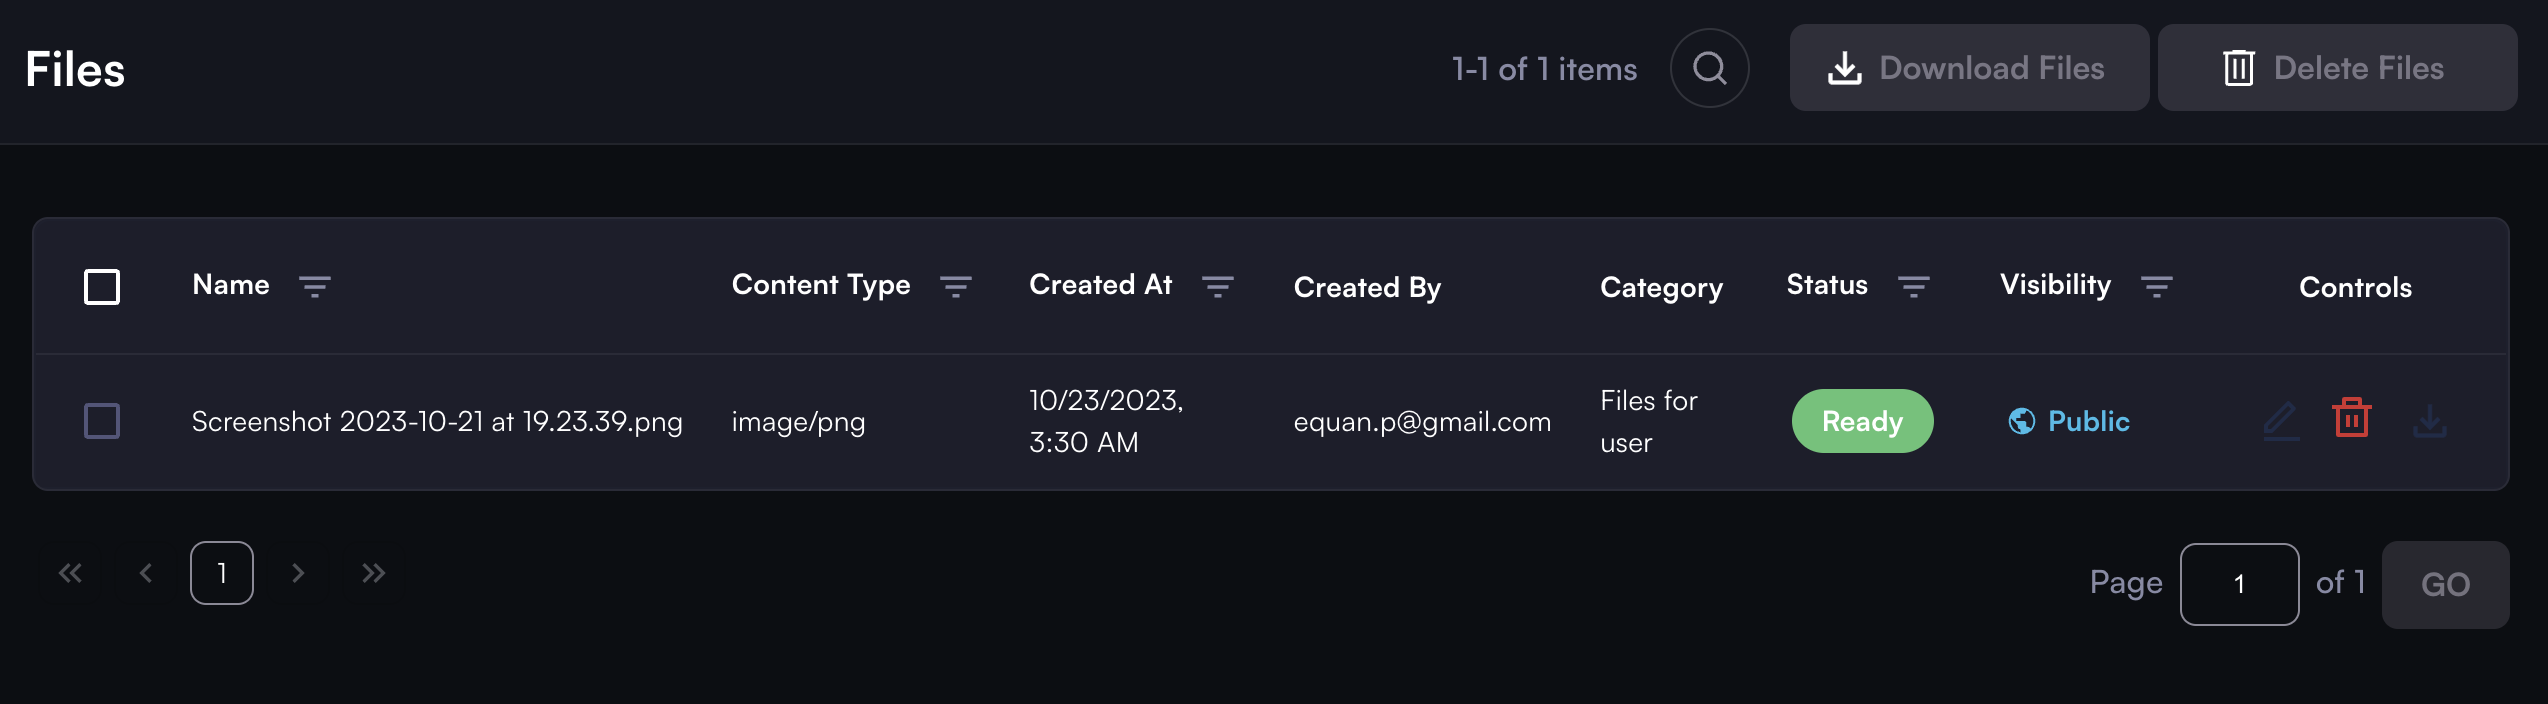
For information on downloading, categorizing, and using the file API, visit the files documentation section.